Mailchimp

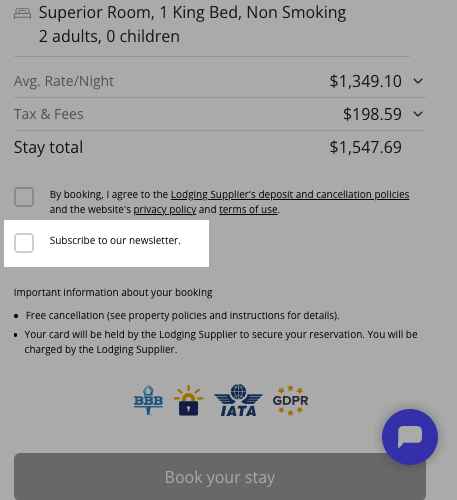
The Ripe + Mailchimp integration allows you to easily add opted-in customers to a Mailchimp audience for marketing purposes. With this integration enabled, during the checkout flow if a user opts to receive email marketing they will automatically be added to a specified audience in Mailchimp.
What it does
- When a customer opts-in to receive marketing communication during checkout their email address will be automatically added to a Mailchimp Audience list.
- The customer must complete checkout to be added to the list. This prevents unintended sign-ups. This sync is not intended to be used as an abandoned cart sequence.
- It is your responsibility to follow all CAN-SPAM regulations and only message users who have opted to receive marketing communications.
Integration Setup
Mailchimp
Start within your Mailchimp account and copy/paste the following pieces of information for use in the subsequent steps.
Create a Ripe-specific API Key
-
Log in to Mailchimp an navigate to your account icon > Account & Billing > Extras
-
Select
API Keys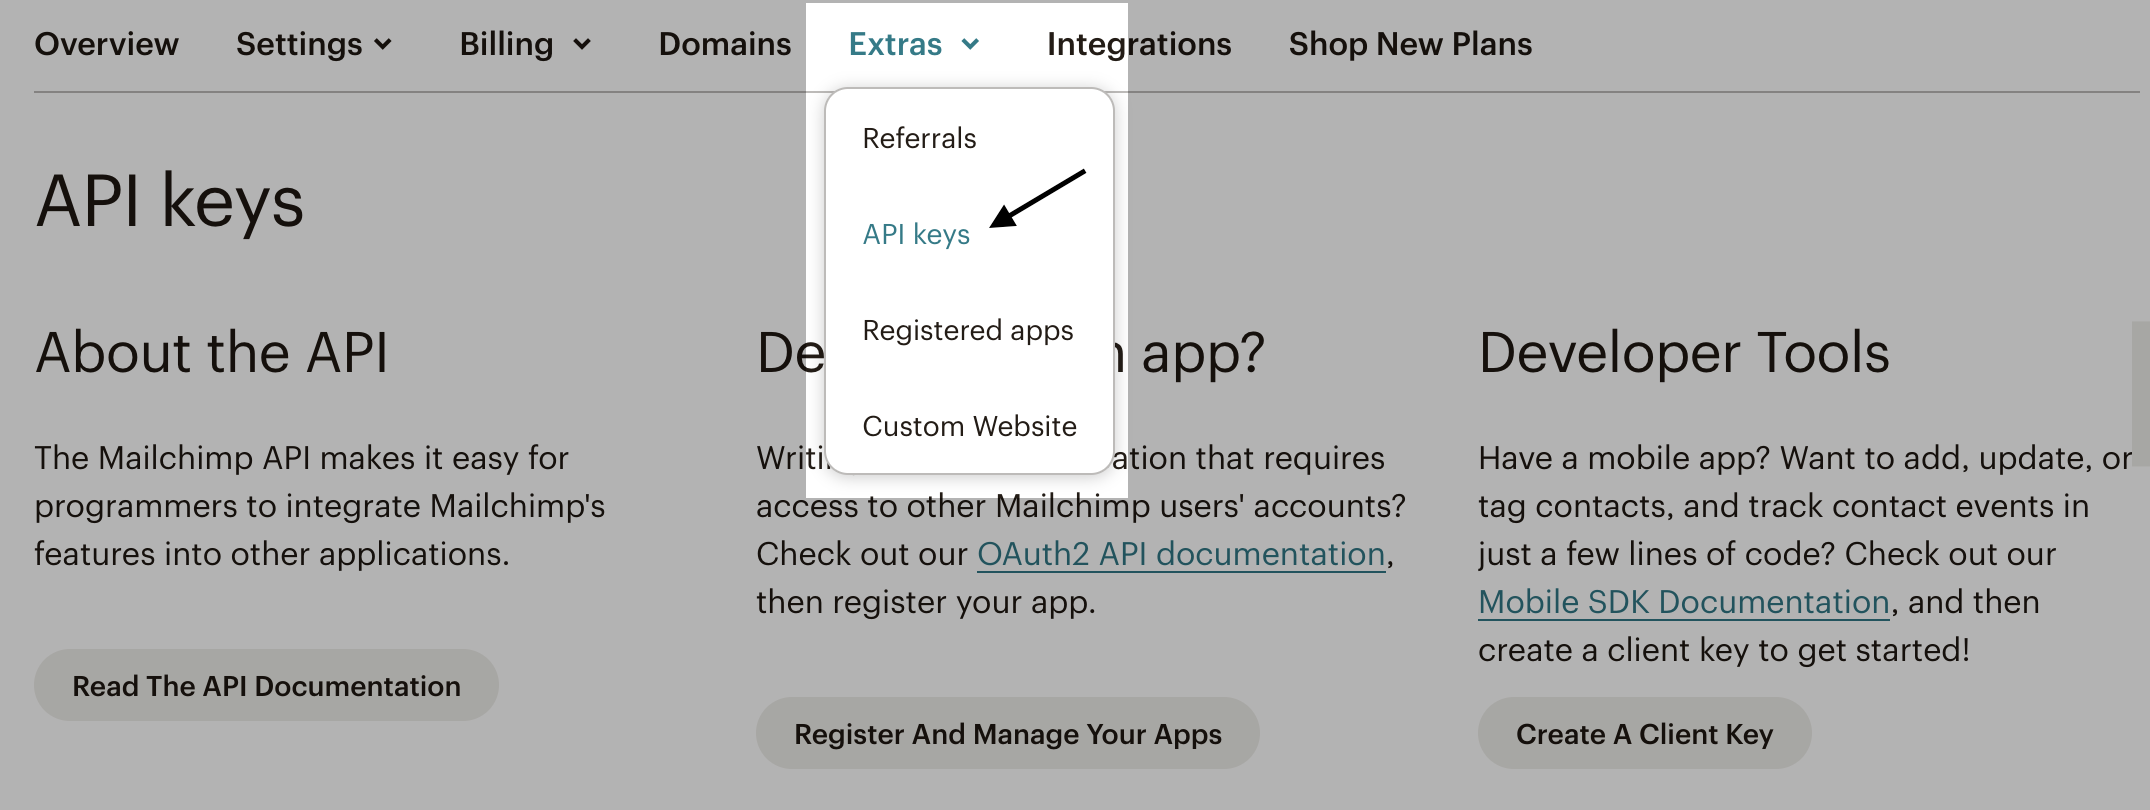
-
Select
Create A Key -
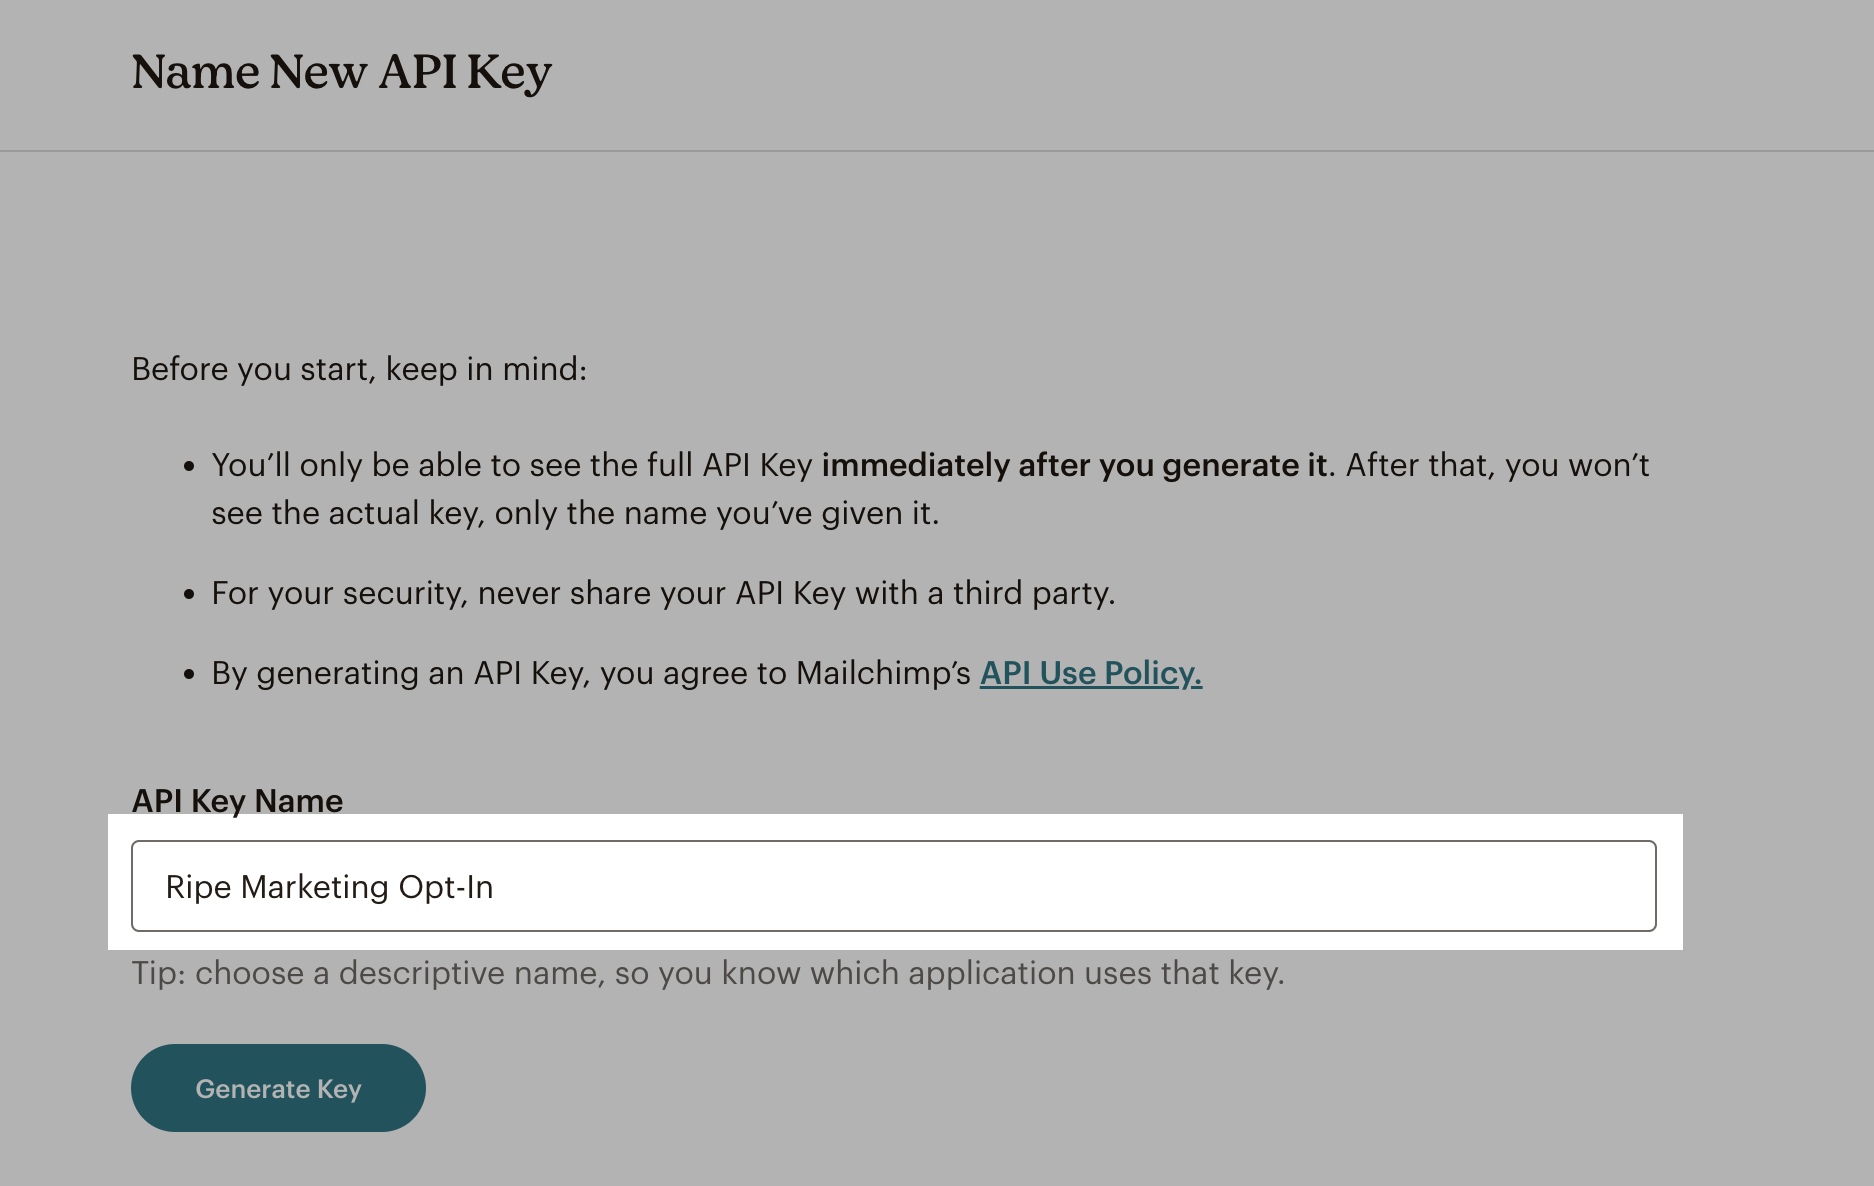
Name your key. We recommend something you can identify later like "Ripe Marketing Opt-In"
-
Select
Generate Keyand copy it to your clipboard. Note you can only view the API key once. If you lose it, you must generate a new one and update your Ripe integration accordingly.
Get your Audience ID
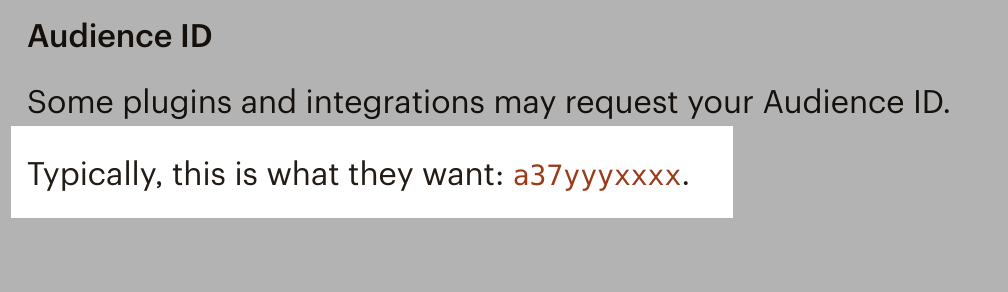
Your Audience ID will determine which audience (also known as list) these emails will be added to within your Mailchimp account. Each Mailchimp audience has a unique audience ID (sometimes called a list ID) that integrations, plugins, and widgets require to connect and transfer subscriber data. The audience ID is generated by Mailchimp when the audience is created and cannot be changed.
-
Select
Audience -
Select
All contacts -
If you have more than one audience, click the Current audience drop-down and choose the one you want.
-
Click the
Settingsdrop-down and chooseAudience name and defaults. -
In the Audience ID section, you’ll see a string of letters and numbers. This is your audience ID.
Get your Mailchimp Parameter ID /
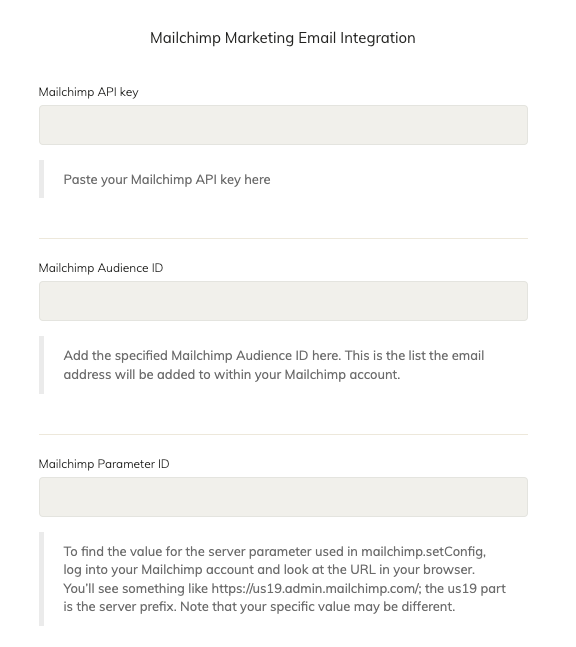
- To find the value for the server parameter used in mailchimp.setConfig, log into your Mailchimp account and look at the URL in your browser. You’ll see something like https://us19.admin.mailchimp.com/; the
us19part is the server prefix. Note that your specific value may be different.
Ripe
Add Mailchimp ID's to your Ripe Account
Navigate to the Booking Engine settings page within your Ripe account.
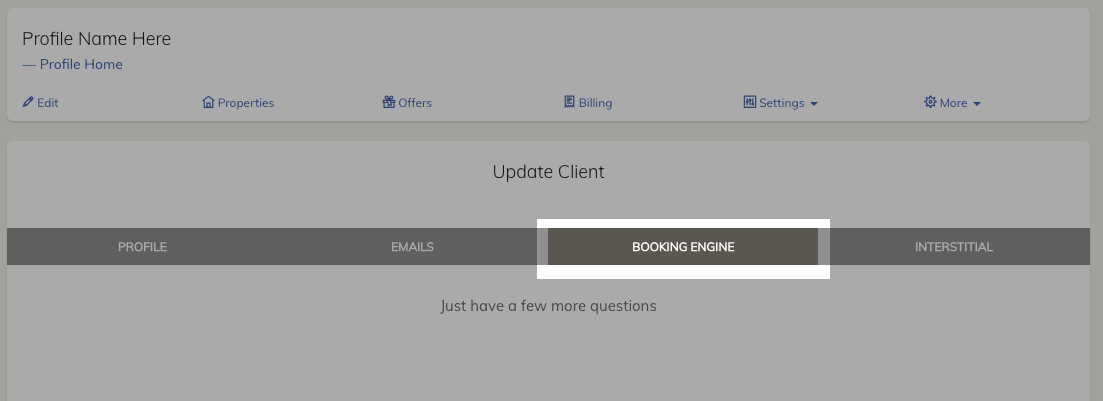
- Locate the Mailchimp integration sections
- Paste in the following pieces of information from above:
- API Key
- Audience ID
- Server ID
- Click
Next, thenFinishto save.
Now you're done. Next time a customer makes a reservation and opts in to receive marketing emails they will be added to the specified Audience.
Updated 5 months ago